Automated report delivery
One of the options available to all users of Reporting is the automated report delivery. This gives users the option to automatically receive reports in their chosen format. The Subscribe option allows for scheduling report delivery over these distribution channels:
- FTP/SFTP server.
Setting up automatic reporting
To set up automatic reporting, you must do the following:
- In the Reports list on the left side of the window, or on a report tile in the Reports tab, click the options
 for the report you want to subscribe to. In the dropdown menu, click Subscribe. A new window opens.
 - OR in the top menu of your report, in the upper right corner, click Subscribe
 . A new window opens.
 - If there are no predefined schedules, create your own by clicking New Schedule. If there are preexisting subscriptions that you want to edit, modify their settings as described below.
|
Note All of the required schedule settings and parameters need to be entered correctly for you to be able to save the schedule. In case any of the schedule sections are not set up correctly, a warning is given to let you know which section has an error that is preventing you from saving the schedule. For example, if a mandatory filter is not entered, you will not be able to save the schedule until the mandatory filter is set up. |
- Enter or edit the necessary data:
- The schedule can be set to certain days of the week and at a certain time of day. Choose your preferred settings in the Schedule days dropdown menu, and enter the time manually in Schedule times or click the clock in the corner of the field to open a dropdown menu. The available time format is AM/PM.
- Click on the Filter icon to set up the report filtering options. The Filter option allows setting report parameters (filters and settings) that will be applied to report generation when preparing for a delivery.
|
Note These parameters depend on the design of the related report and may not always be required or available. |
- Click on the mail icon to choose a Distribution channel for report delivery. For additional information, see Distribution settings. Click Confirm to save your settings or Back to scheduling to return to the previous window.
- Choose the report format from the Format dropdown menu:
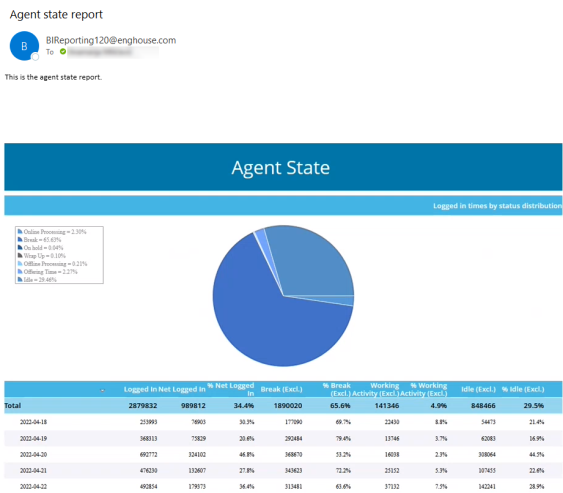
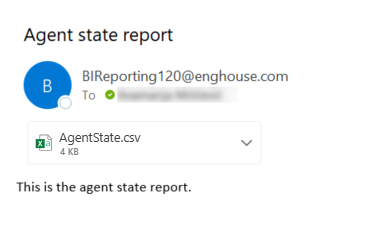
- Email report:If the report is delivered in the body of the email, there is no file attached to the email and the report contents are delivered as text organized in a table (via HTML). The email body text message provided in the Email settings (see Distribution settings) is included at beginning of the email, above the report.
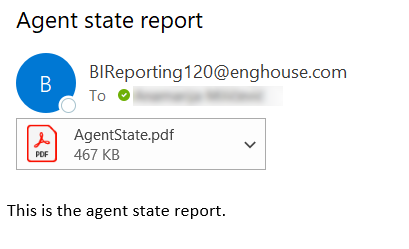
- Pdf attachment: If the report is delivered as a PDF attachment, a file is provided as an attachment of your email which you can then store on your computer. There is no additional email body text other than the message provided in the Email settings (see Distribution settings).
Select the Compress Attachment checkbox to compress the attached file.
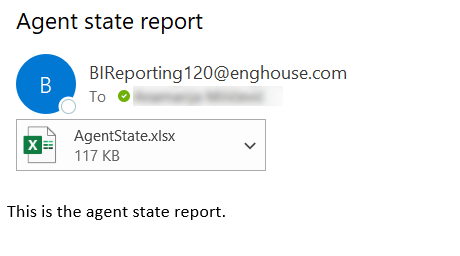
- Excel attachment: If the report is delivered as an Excel attachment, a file is provided as an attachment of your email which you can then store on your computer. There are several export settings to choose from:
- Type: Choose the type of file the report is converted into.
- Image Resolution: Used to change DPI (image property PPI - Pixels Per Inch). Increasing the number of pixels per inch is increases the quality of the image and the size of the finished file.
- Image Quality: Change the image quality. The higher the quality, the bigger the size of the finished file.
- Bands Filter: This parameter enables you to specify which report bands are exported. The following options are available:
- All Bands: All the bands present in the rendered report are exported.
- Data Only: Only the Data band is exported.
- Data and Headers: Only the Data band and the related Header bands are exported.
- Data and Headers/Footers: Only the Data band and the related Header and Footer bands are exported.
- Use One Page Header and Footer: Select the checkbox to use only the first header and footer.
- Export Each Page to Sheet: Select the checkbox to export each page to sheet.
- Export Page Breaks: Select the checkbox to export page breaks.
- Compress Attachment: Select the checkbox to compress the attached file.
There is no additional email body text other than the message provided in the Email settings (see Distribution settings).
- CSV attachment: If the report is delivered as a CSV attachment, a file is provided as an attachment of your email which you can then store on your computer. There is no additional email body text other than the message provided in the Email settings (see Distribution settings).
Select the Compress Attachment checkbox to compress the attached file.
-
When all the needed data is entered, click Save to continue.
To create another schedule for the same report, follow the same procedure. To delete an existing schedule, click Delete at the right end of that schedule's row.
Distribution settings
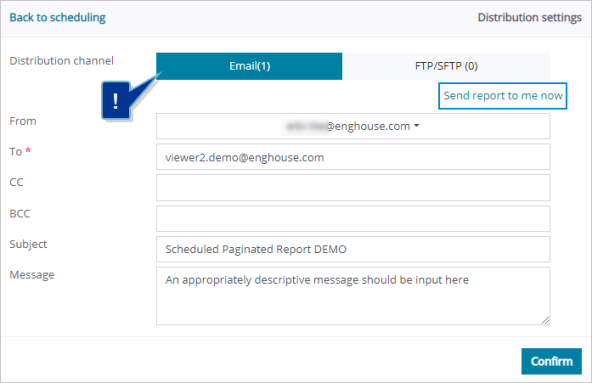
It is possible to schedule automated report delivery to a list of one or more email recipients.
The Distribution channel parameters define the sender of the email (From), the list of recipients (To, CC and BCC), as well as the subject of the scheduled report email (Subject) and the mail body text (Message).
|
Note The list of available senders is edited by the Administrator and Viewers can only select from among the predefined senders. |
The Send report to me now link instantly sends the report to the user's email address. This is a good way to check if all the other settings in this window are set up as planned before sending the report to others.
The specific content or format of the email is defined by the Format parameter, as described in the previous section.
FTP/SFTP
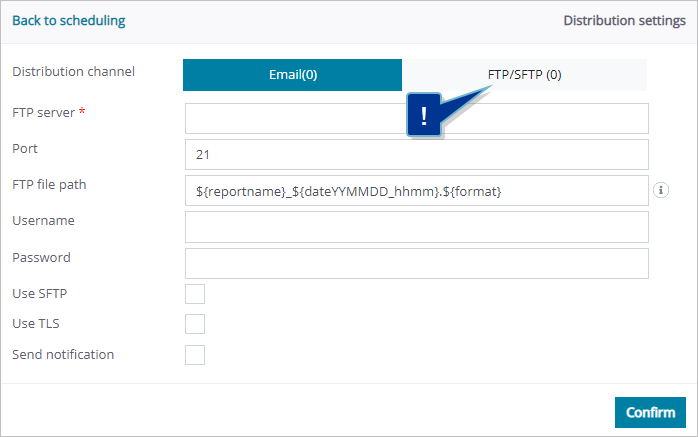
It is possible to schedule automated report delivery to an FTP or SFTP server. To set this up, fill out the following fields:
- FTP server: The required parameter which stands for the location of the file server (i.e. IP address).
- Port: Defines the port to be used for server access.
- FTP file path: Lets you customize the name of the file to be stored on the server (same as in the previous section).
- Username, Password: Authentication parameters, if required by the server.
- Use SFTP: When checked, removes the TLS modifier and defines distribution to an SFTP server.
- Use TLS: Switches between FTP without TLS or over TLS.
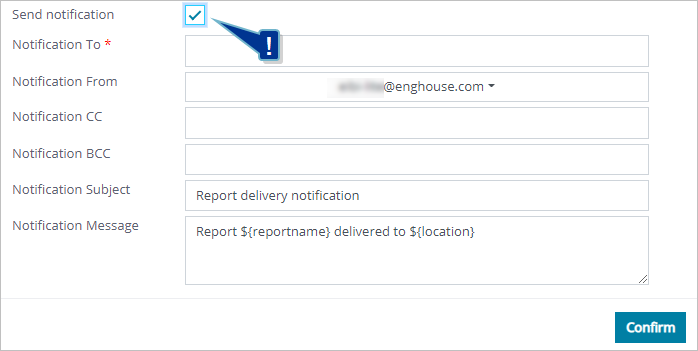
- Send notification: Activates an email notification of the delivery, but does not include the generated report itself. The Distribution settings window is expanded and new email notification fields appear. See Send notification for more information.
Send notification
In both file server distribution channels (Shared Network File Server and FTP/SFTP), an additional notification delivery option is available. If Send notification is checked, it provides access to settings very similar to those for emailing reports. Fill out the necessary fields and click Confirm to return to the scheduling window.
|
Note Notification Message can be formatted in the same way as the Filename/File Path fields for file servers. |