Import a workspace

Note

  • Import of a workspace should only be done as part of the process of migrating a tenant from the legacy to the new Designer.
  • Two workspaces cannot exist for the same tenant with the same name. If you try to import a workspace that you have already imported, you are prompted for a new name for the workspace.
  • Before importing a workspace, you must remove any backup copies of scripts and empty script files from the workspace folder. Script files that share the same Display element name cause the import to fail with a Duplicated script name error if the workspace.xml file uses this name for a script.
  • After importing a workspace with existing VOIP scripts, you must manually add the Post Call script, if required. See Post Call script.

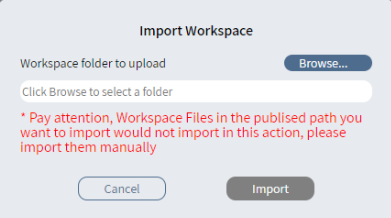
Caution

Workspace files in the publish location are not automatically imported. You must manually import them.

  1. On the navigation pane, click Tenant Home or in the Workspace editor, click . The Get started page appears.
  2. Click Import workspace.
  3. In the Import Workspace dialog, click Browse.
  4. Select the file system folder to upload and click Upload.
  5. Confirm that you want to upload all the files to the site.
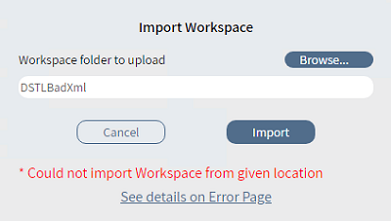
  6. In the Import Workspace dialog, click Import.

  1. If the import fails, click See details on the Error Page. See Errors page.