Publish workspaces
Location to publish to
CCaaS Designer publishes workspaces to a predefined location for the tenant. This location is defined by the IVR root path that is configured for the tenant in CCaaS Admin.
The IVR root path must be a valid network or local filesystem location that is accessible to the user under which the CCaaS Designer App Pool runs. The IVR root path must be unique for each tenant but multiple tenant folders can use the same parent folder. For example, tenants T1, T2 and T3 can have IVR root paths defined as below:
\\CCSP1\TenantIVRs\Published\T1
\\CCSP1\TenantIVRs\Published\T2
\\CCSP1\TenantIVRs\Published\T3
When Designer publishes workspaces, scripts and tables, if the leaf folder does not exist, it is created with permissions for landlord users and tenant administrator for that tenant. However, the parent folder must exist prior to the publish operation being attempted, otherwise the publish will fail. So in the above examples, \\CCSP1\TenantIVRs\Published must exist beforehand.
|
Note Workspaces and scripts are always published from the database. If you are editing a script and select either the workspace or script Publish option, the current script or workspace is saved before publish. If the workspace is new and unsaved, you are prompted to provide a name before saving. |
Workspace versions
CCaaS Designer automatically creates a version (snapshot) of each published/republished workspace. The whole workspace (including scripts, tables, and files) is saved in the database and presented on the Version History page. See Manage version history.
CCaaS Designer stores a maximum of 10 versions in the database and then replaces the oldest existing version with the new one.
Publishing an individual script, table, or file does not create a backup version of it. You must publish a whole workspace to create a backup version of its scripts, tables, and files.
Publish a workspace
- In the Workspace editor, in the workspace tab bar, select the workspace to publish.
- Click
 and then click Publish. The Publish Workspace [name] dialog appears.
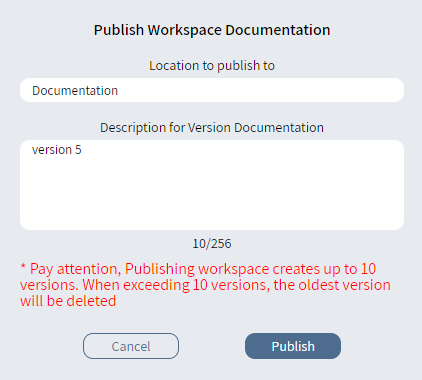
- Enter the Location to publish to.
- Enter a Description for this version of the workspace.
- Click Publish.
- The message Workspace successfully published appears. Click OK.