Edit a working hours placeholder
- On the Working Hours page, select the application in the Application list.
- In the working hours placeholder's row, under Actions, click
 and then click
  Edit. The Working Hours dialog appears.
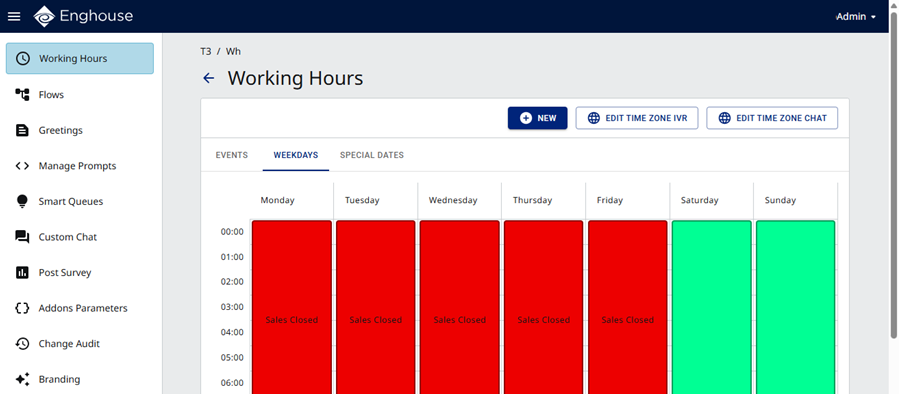
From here you can:
- Edit the IVR time zone
- Edit the chat time zone
- Manage events (add, edit, delete)
- Assign an event to the Weekdays calendar
- Assign an event to the Special Dates calendar
- Copy a special dates event
- Delete a special dates event
Edit the IVR time zone
|
Note Time zone configuration defines the time zone of the respective calendars. The options are Local (default) and GMT. Check with your service provider for the definition of the local time zone. See also Use a different time zone for IVR. |
- Click
 . The Edit Time Zone IVR dialog appears.
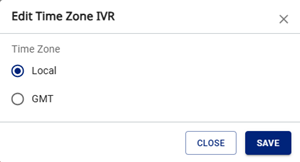
- Select Local or GMT.
- Click Save.
Edit the chat time zone
|
Note Time zone configuration defines the time zone of the respective calendars. The default for the chat time zone is the server's local time. |
- Click
 . The Edit Time Zone Chat dialog appears.
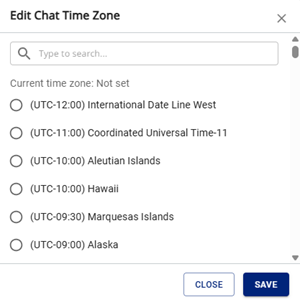
- Select the required time zone.
- Click Save.
Manage events
|
Note Define events for particular call treatments. After defining the events, assign them to the Weekdays or Special Dates calendars. |
Add an event
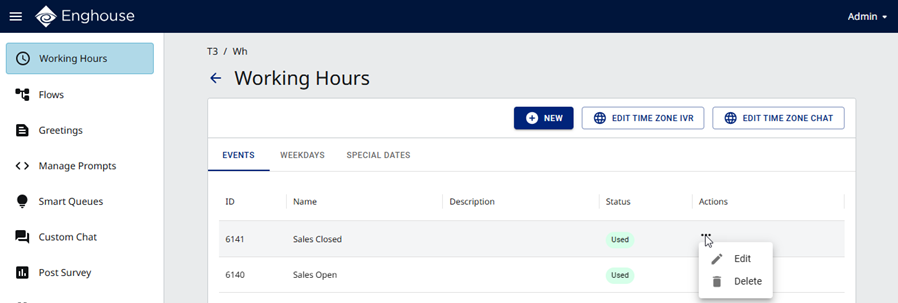
- Click the Events tab.
- Click
 . The Edit Event dialog appears.
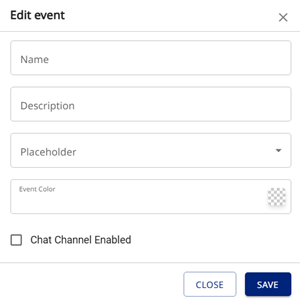
- Enter the following information:
- Name — enter a unique name for the new event.
- Description (optional) — enter a description of the event.
- Placeholder — select a placeholder for the call treatment to apply for the event.
- Event Color — select the background color to use in the Weekdays calendar.
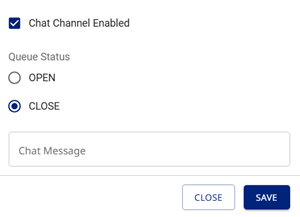
- If you use the Social Connector, enter the following information:
- Chat Channel Enabled — select the check box. The Queue Status options and Chat message text box appear.
- Queue Status — select whether this event is for when the queue is open or closed.
- Chat Message — enter the message you want to send for this event.
- Click Save.
Edit an event
- On the Events tab, in the event's row, under Actions, click and then click Edit. The Edit Event dialog appears.
- Configure the event as described above.
- Click Save.
Delete an event
|
Note Events currently in use cannot be deleted. |
- On the Events tab, in the event's row, under Actions, click and then click
 Delete.
 - In the Delete Event dialog, click Confirm.
Assign an event to the Weekdays calendar
|
Note
|
- Click the Weekdays tab.
- Click . The New Weekdays Event dialog appears.

- Enter the following information:
- Hours Event — select an event in the list.
- Start Time and End Time — select the times.
- Days of Week — select the days of the week.
- Click Save. The new event appears in the Weekdays calendar.
Assign an event to the Special Dates calendar
- Click the Special Dates tab.
- Click . The New Special Dates Event dialog appears.
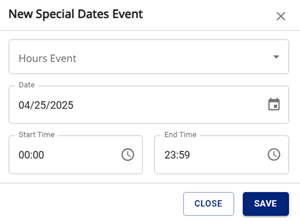
- Enter the following information:
- Hours Event — select an event in the list.
- Date — select the date.
- Start Time and End Time — select the times.
- Click Save. The new event appears in the Special Dates calendar.
Copy a special dates event
- On the Special Dates tab, click an existing special date. The New Special Dates Event dialog appears.

- Change the date on the calendar. The Copy button is now available.
- Click Copy.
Delete a special dates event
- On the Special Dates tab, click an existing special date. The New Special Dates Event dialog appears.
- Click Delete.