Manage tables
|
Note
|
- Open the workspace that contains the tables. See Open a workspace.
- On the navigation pane, click
 Tables. The Tables for [workspace] list appears. For navigation information, see List view.
 - To see the action buttons for a particular table, hover your mouse over that row.
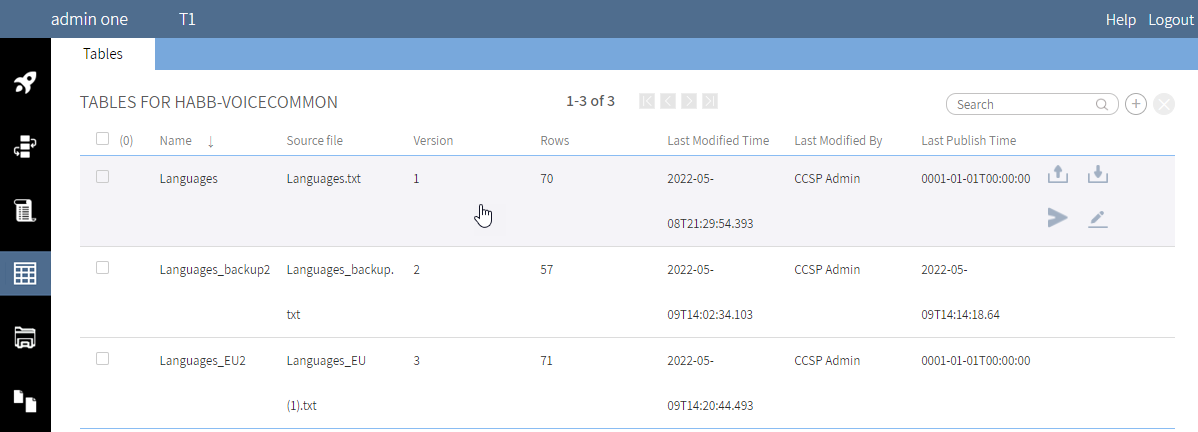
The columns are:
- Name
- Source file
- Version — the version of the source file.
- Rows
- Last modified time — this is currently the UTC time at which the table was saved in the database.
- Last modified by
- Last publish time — this is currently the UTC time at which the table was published in the tenant’s IVR root path, configured in CCaaS Admin.
Upload a new table
|
Note
|
- On the Tables page, click
 Add. The Upload Table dialog appears.
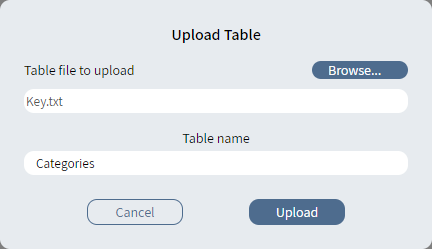
- Click Browse and select the text file to upload.
- Enter the table name.
- Click Upload.
- The message Table successfully uploaded appears. Click OK.
Upload an updated table
- In the Tables list, hover your mouse over the table to upload and click
 Upload.
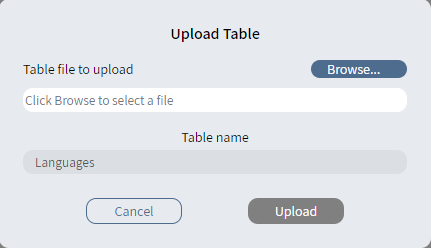
- Click Browse and select the text file to upload.
- You cannot change the table name.
- Click Upload.
- The message Table successfully uploaded appears. Click OK.
Download a table
- In the Tables list, hover your mouse over the table to download and click
 Download. The Download Table [name] dialog appears.
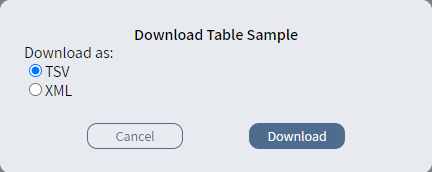
- Select whether to download the file as a tab-delimited text file or an .xml file.
- Click Download. The text file appears in your Downloads folder.
Publish a table
|
Note
|
- In the Tables list, hover your mouse over the table to publish and click
 Publish. The Publish [name] Table dialog appears.
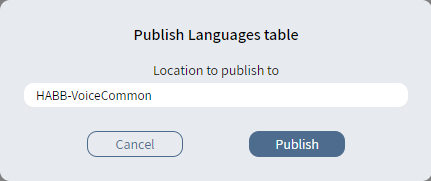
- Enter the Location to publish to. You can use the default workspace location or change the name to publish to a different workspace folder.
- Click Publish.
- The message Table successfully published appears. Click OK.
Rename a table
- In the Tables list, hover your mouse over the table to rename and click
 Rename. The Rename [name] ? dialog appears.
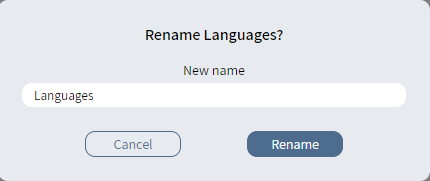
- Enter the new name.
- Click Rename.
Delete a table
- In the Tables list, select the check box in front of the table to delete.
- Click
 Delete.
 - Confirm the deletion.