Manage personnel
|
Note CCaaS UI was previously called TouchPoint. |

View the Agents list
- On the navigation pane, click
 Organization.
 - If necessary, click the Personnel tab. The Agents list appears. For navigation information, see Card view, How to search, and How to filter.
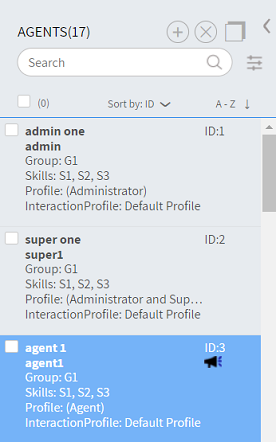
The ![]() icon indicates that the agent is campaignable.
icon indicates that the agent is campaignable.
Add an agent
Note
|
- On the Agents page, click
 Add. The New Agent page appears.
 - Enter the following information, arranged on the following tabs:
- Properties
- Phone settings
- Parameters
- Click Save changes.
Add a phone agent
In some instances, agents may be constrained to the use of only a circuit switched phone or IP phone. This may be due to how your contact center is configured, or if the agent is traveling without a computer and still needs to service calls, or perhaps in the event of a disaster.
Since the agent is operating without a computer, many of the functions that are available through CCaaS UI are not available for the Phone Agent.
Phone agents are created in exactly the same manner as other agents. You must:
- Assign the agent a numeric Login ID and numeric Password.
- Enter the agent's phone number into the Phone ANI field of the personnel record.
- Configure the area code and country.
Note
|
Clone an agent
- On the Agents page, select the item/s to clone.
- Click
 and then click Clone Agents. The Clone Agents dialog appears.
 - Optionally added a prefix and/or suffix for the cloned agents.
- Click Set Password. The Change password dialog appears.
- Type a new password that meets your AD policy, type the password again to confirm it, and then click OK.
- Click OK.
Edit an agent
- On the Agents page, click the card of the item to edit. The [Agent name] page appears.
- Edit the information. For details, see Add an agent.
- Click OK.
Delete an agent
- On the Agents page, select the item/s to delete.
- Click
 Delete and then confirm the deletion.